Monday, January 10, 2011

Tooth Fairy Box

Over the weekend my daughter lost her tooth.  It wasn't her first one, but it was the first time she wanted to put it somewhere special for the Tooth Fairy.

Here is what we came up with.

Take tooth, leave $5


I saw the little box on the SU site. I was going to use it to make tiny Valentines for my children's classmates, ( and I still will) but Alex saw the prototype and wanted it for the Tooth Fairy.  I couldn't say no to her toothless smile :)


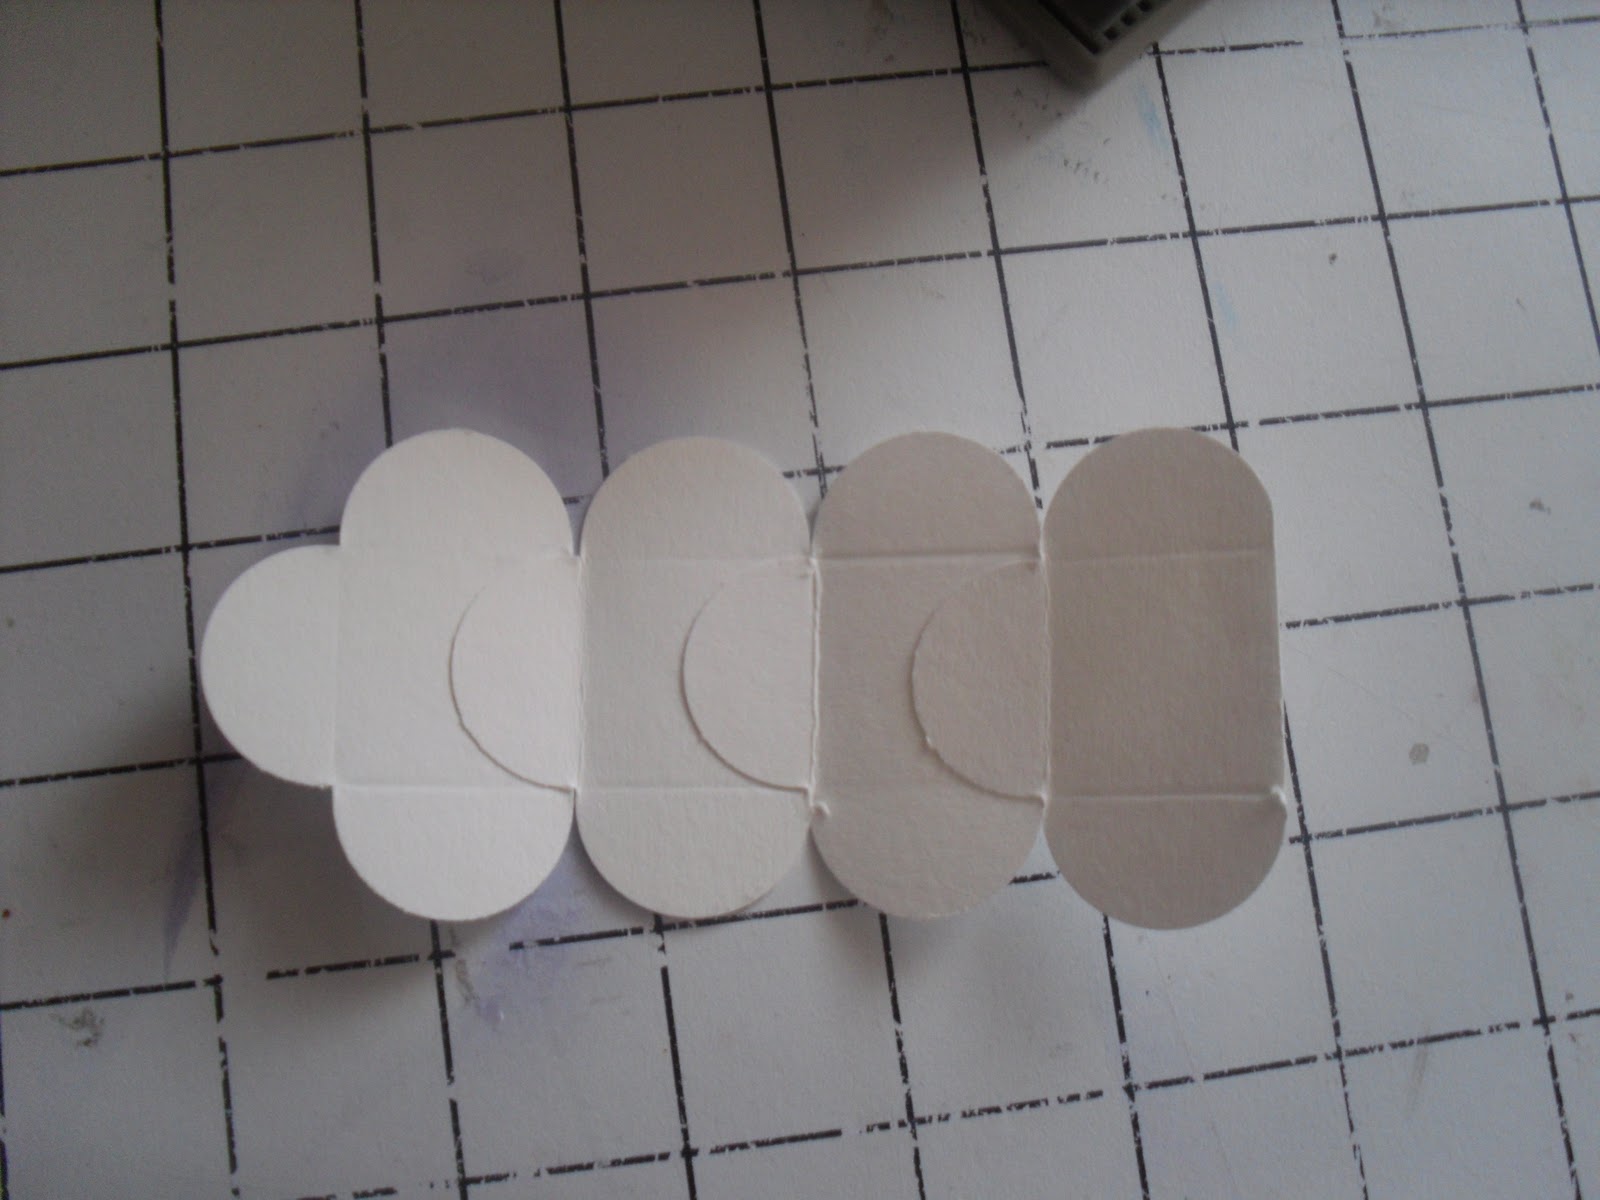
Here is how I made the little box.

Punch four petals

Snip off one end.

Glue together end to end

Glue last petal and bottom

And!! Ta Da!!! 

A tiny box.

I used the Tooth Fairy Stamp and I made the tiny box using the Petal Card Double Punch.

Give it a try.  Thanks for looking!!

New Look

I am in the process of revamaping my craftroom, so why not revamp my blog.  I spent my time changing the look of my blog ( instead of organizing my craftroom :) )  I used MDS to create everything.


Thanks for looking.

Friday, January 7, 2011

The Verdict Is In . . .

and I love it.

For Christmas my wonderful husband gave me a wide format printer.  (I know every girl's dream, lol)

I finally, made space in my craftroom for it, it is big!!  We installed the software and gave it a whirl. 

Here are the results.

Printed from MDS using a wide format printer.

It was amazing to see a 12x12 print. 

First try
This was the first layout I printed.  It cut off the right side off the page.  But the quality is great.  The colors are bright and lines are sharp.

2nd try.
If at first you don't succeed ...  I adjusted some of the margins and this time it cut off the bottom.  Which really only I, and now you, know.  It really looks like I made it that way. 

3rd try

Well third times the charm. This time I adjusted ALL the margins . . .

AND !!!!  TA DA!!!!  A full layout!!!

Now I only hope the ink cartridges are cheap, because I have a feeling I will be doing a lot of printing :)

Thanks for looking.

Thursday, January 6, 2011

MDS Thursday: How to Make a Flower

I love when something looks complicated but is actually very easy. 


The "hard" part of this card is the flowers.  The truth is they were the easy part.
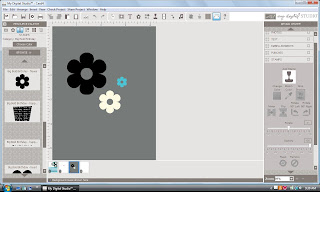
Big Bold Birthday Stamp Set
 I started by stamping, resizing and coloring the three flowers.  I used the flower from the Big Bold Birthday stamp set.  This stamp set comes with the program.  ( I used a gray background so you can see the white flower)
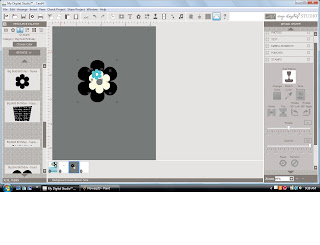
Stack the flowers together

I wanted it to look like one flower so I stacked them.  Then, because I am a perfectionist, I wanted them to be exactly center of one another.  I looked a little foolish trying to measure each side, moving a bit here, a bit there.  After some frustrating moments I gave up and started  to look for an easier way.  This is a digital software after all, shouldn't it do this for me :)
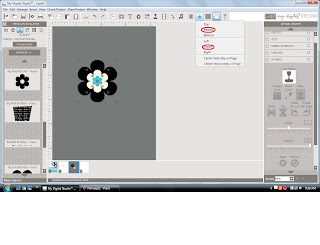

Using the Alignment Feature

The alignment feature to the rescue.

First, you have to select all three stamped images. 
1. click on the first stamped image
2. hold the shift key
3. click the remaining objects, while still holding the shift key

Notice how the three objects are highlighted.

Once you've highlighted the stamped images, click on alighment and click middle and then center. It's actually kinda fun watching the flowers move on there own.  (see red circles)
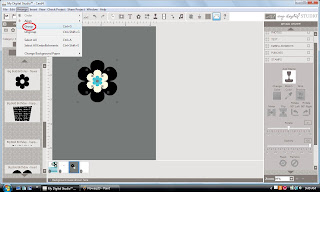
Group the Stamped Images

We are almost done.

Once the flowers are all set, you have to group them.  This will turn them into one stamped image instead of three.

To group the stamped images:

1. make sure the three stamped images are highlighted ( just like before)
2. go to the Arrange tab in the menu bar
3. press Group (see red circle)
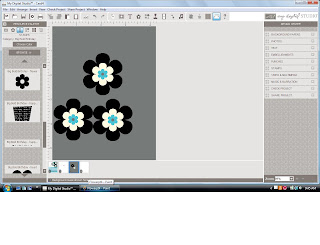

A flower is born

And, Ta Da!!!!!  You have a complete flower.

You can copy and paste as many as you like.  The one thing you can not do is resize it.  I am hoping that MDS will have an update for that soon.

Give it a try.  Thanks for looking.

Wednesday, January 5, 2011

One week, One page.

My New Year's goal is to do a scrapbook page/layout a week.  Here is the first.

I have wanted to scrapbook my daughter and her Mimzy for years.  Mimzy is her BFF.  She has had it since she was four months old and it goes with us everywhere.  It will be nice when she is older to look back and remember her Mimzy.


  I used the Circle Scissor Plus 112530 for the large circles and punches for the stamps.

All done!


Thanks for looking.

Stamp Set:  Circle Circus
Cardstock:  Rich Razzleberry, Pretty in Pink
Ink: Pacific Blue

Tuesday, January 4, 2011

Cup Cake Craze

Cupcakes seem to be the new in thing.  I haven't placed my order from the new Occasions mini (which is loaded with cupcakes) but my Party Hearty stamp set has a cupcake.  Here is my cupcake inspired card.

Add caption
My only note on this card is that I used the crimper on the pink band .  Other than what you see is what you get.

Go try it.  Thanks for looking.

Card Stock:  Soft Suede, Pretty in Pink
Ink- Chocolate Chip, Blushing Bride
Embellishments- Chocolate Chip 5/8" grosgrain ribbon, Dazzling Diamond Glitter

I decided the inside was to plain so I added cupcakes in Blushing Bride.

Monday, January 3, 2011

Trying to get it together

No actual stamping or scrapping today. Although I do have some sketches in my head ready to come to life :)

I spent the day working on my calendar and class offerings. The new occasions mini has so many great things it's making it hard to decide what to focus on, lol.

Hopefully, I'll finalize and update everything tomorrow. Wish me luck :)
Related Posts Plugin for WordPress, Blogger...