 |
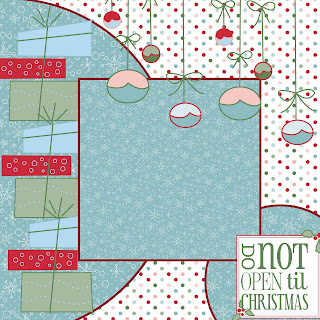
| Scrapbook page using punches paper fill |
I wanted something other than squares, and punches gives that option. Punches are great when you want to use shapes on your page.
 | |
| Add punch to page |
If you have seen some of previous post you know that I LOVE circles. So, of course, I picked the circle punch.
 |
| Resize and place in position |
I wanted a half circle so I enlarged the circle and moved so only half the circle the circle appeared on the page. Then I clicked on the paper fill option (see orange circle)
 |
| Choose paper and click ok |
I chose the paper from the Designer Kits. Candy Cane Lane (# 122177) is quickly becoming my favorite download.
 |
| Punch after the paper fill |
When I saw the paper in the punch, I was like Whoa!!! that's big. So I started thinking, there has to be a way to crop this. Well there isn't, BUT you can resize the paper. (see orange circle)
 |
| Resize window |
When you click on the Resize icon this window will open. You want to click on the zoom out button ( see orange circle). The more you click it the small the paper fill will get. ( Be careful not to go to far or you'll end up with empty space.)
 |
| Here is the paper fill after several clicks |
Once you have the paper as you'd like to see it on your page, click ok (see orange circle).
 |
| Here is the punch after the resized paper fill |
And ta da! You have a better looking paper.
Paper fill in photo boxes works differently but still can be done.
 |
| Resizing paper fill in photo boxes |
In the photo box, once you have dragged the paper into the photo box, you use the zoom in/zoom out buttons to change the paper fill. (see orange circle)
Give it a try. Thanks for looking.

Great Tutorial! Looking forward to seeing more. I've also added your links to my own MDS tip sheet. New users need all the help they can get - LOL! Thanks for sharing your expertise.
ReplyDelete