It has become our tradition that the day after Thanksgiving we put up the tree. It is a little easy for us because our tree is fake (allergic to pine). Getting it out of the attic is a bit of a trick.
I used My Digital Studio (MDS)
(# 18108) to make my scrapbook page. I have to say it is the best thing I have purchased. It really makes creating scrapbook pages easy.
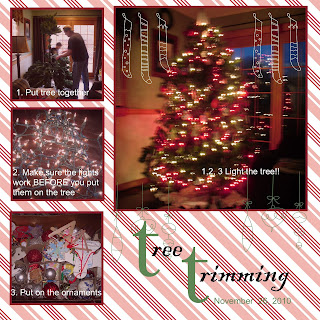 |
| Created using My Digital Studio |
|
My photography skills aside (yes, the tree is blurry). I love using the photo box function. However, if you notice, when I dropped the tree picture into the photo box it cut off part of the angel.
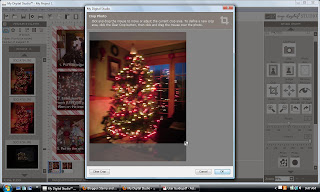 |
| Crop Window |
If you want to keep the size of the photo box as is, double click on the photo box and it will take you to the crop window. The crop window will show you the area that will be displayed in the box. Drag the window around the picture until you like the display then click ok.
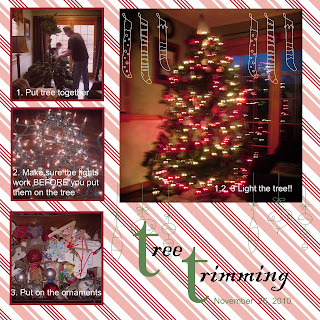 |
| After using the crop window |
Now I can see my angel.
If you don't mind changing the size of the photo box, you still double click on the photo box
 |
| Resize the crop window |
But this time use the little resize thing ( not the teschnical term )shown in yellow and make the box as big or little as you like. You can also drag it around to different parts of the photo. When you have the portion of the picture you want to keep click ok.
 |
| Photo box resized |
Notice the photo box is now thinner.
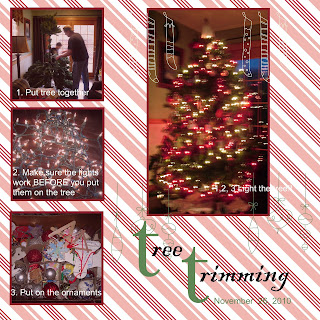
So it all depends on the look up want. I like the other box better so I kept it big.
You can find more information on photo boxes starting on page 39 of the User Manual in MDS.
 |
| Final Product |
For this Layout I used:
Candy Cane Lane Photocard Digital Kit - Digital Download 122177
Go try it. Thanks for looking.


No comments:
Post a Comment